CCD is a small case company, run by an individual who not only loves the PC community but also loves small form factor cases. The small form factor community is small but I believe it is growing now more than ever. More companies are starting to enter the small case community and give people the ability to house great power while taking up as little of their desk space as possible. Today, we will take a look at a case I’ve been wanting to review since seeing it reviewed by a fellow tech review Tek Everything, the Case-by-Case Design MI-6. The model we are exploring is the First Edition, Front I/O model, with the black aluminium finish and a custom brushed aluminium top cover. The 6 designates its 6.7L size. For more information about the MI-6 second batch and how to order link the link here.
Features:
- Micro Tower: A beautiful black finish, with bright aluminum top and accents. The very small footprint keeps your desk uncluttered.
- Mini-ITX Form Factor: Built for mini-ITX size motherboards and 2-slot mini-ITX GPUs, but still with enough room for a SFX-L+ size power supply.
- Solid Construction: No plastic or flimsy sheet metal: 2mm aluminum alloy interior and 1.5mm aluminum alloy cover. Threaded inserts prevent wear and stripping. To give it good looks it has a black powder coated internal chassis.
- Open and Accessible: Open architecture simplifies working in the case. Cutouts behind the motherboard provides access to the backplate. This can also provide access to an m.2 slot and CPU cooler bracket without removing the motherboard. Cutout in front of the PSU provides simplification in installing cables.
- Fantastic Ventilation: The GPU and CPU mount on opposite sides of the case, and the PSU at the bottom. There are fresh air intakes for all three. No hot air recirculation and no PSU covering up the motherboard cooler. The case fits CPU coolers up to 65mm tall. A bottom case fan can be added for more cooling.
- Versatility: Drive locations can be re-purposed for Front I/O, SFX-L PSUs, or a case fan.
Case Specification:
- Dimensions: (WxDxH) 135 mm x 203 mm x 246 mm
- Weight: 1.35 kg (3 lbs)
- Material: Black powder coated Aluminum 2mm, Stainless steel inserts, Zinc plated screws, Black matte finish 1.55mm Aluminum for sides and 3mm anodized aluminum top
- Colors: Black and natural aluminum finish
- Motherboard Support: M-ITX
- Drive bay Storage: 2X2.5” hdd/ssd standard, up to 4×2.5” drives if 7mm and with optional quick-release mount
- Expansion slots: 2 PCI slots
- Power Supply: SFX, SFX-L or SFX-L+, modular cables recommended
- Cooling System: Bottom Fan 1 x 92mm 14-16mm height (not included)
- CPU Cooler Height: 65 mm
- GPU Card Length: 190 mm
- Side panel: 1.5mm Brushed Aluminum
- Front panel: Power button ,2 USB 3.0, headphone and microphone jacks
Unboxing


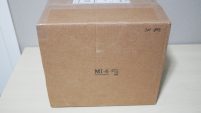
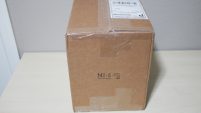
Before we examine the ins and outs of this ITX case, first let’s start out with my favourite part of the review, the unboxing. To start off the box is a fairly plain brown box, with the CCD logo and also identifying markings that the MI-6 case is inside on all sides of the box. There are no flashy pictures of the case, or any specs printed on the box, CCD wants you to realize, it is what is inside that counts.
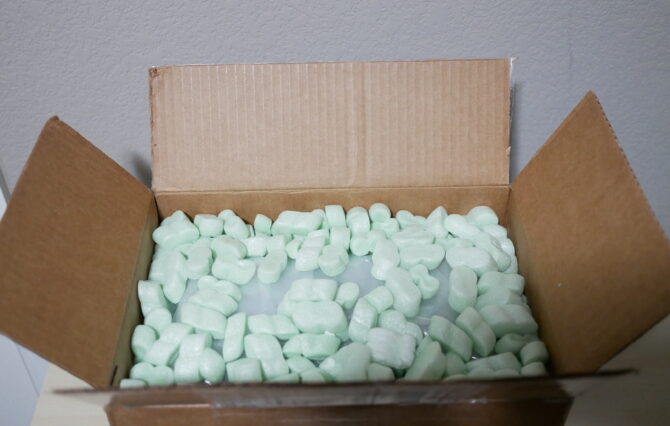
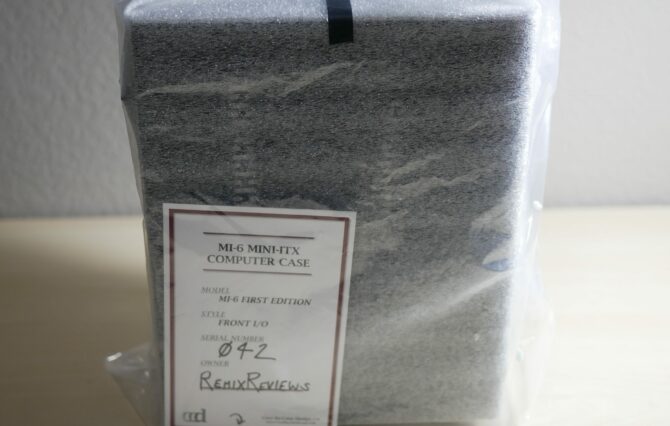
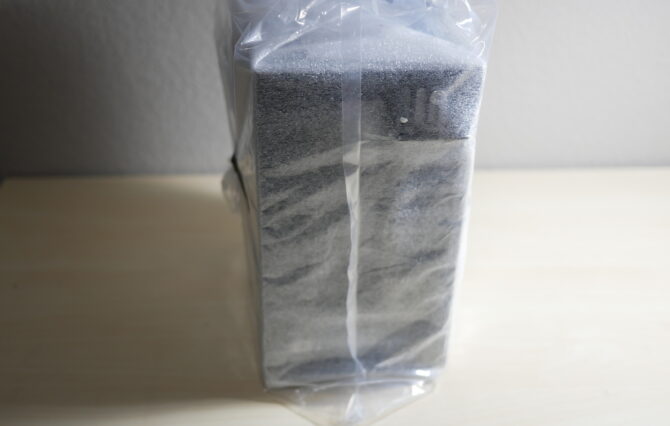
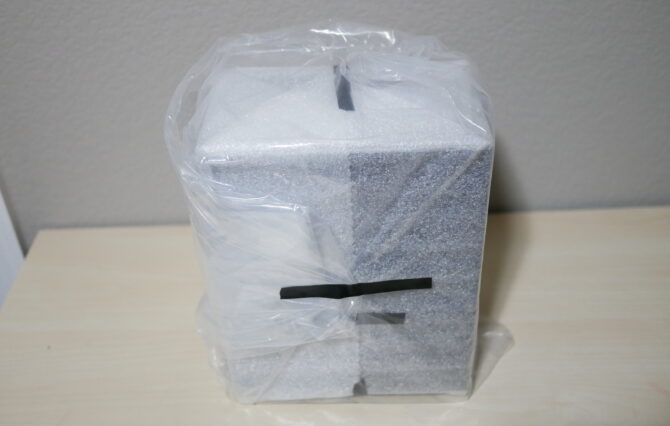
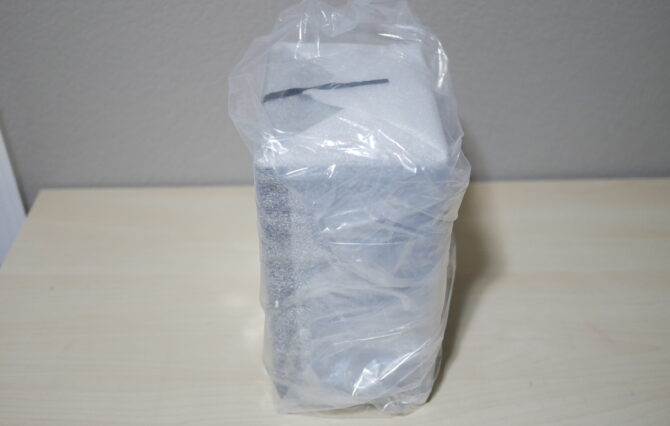

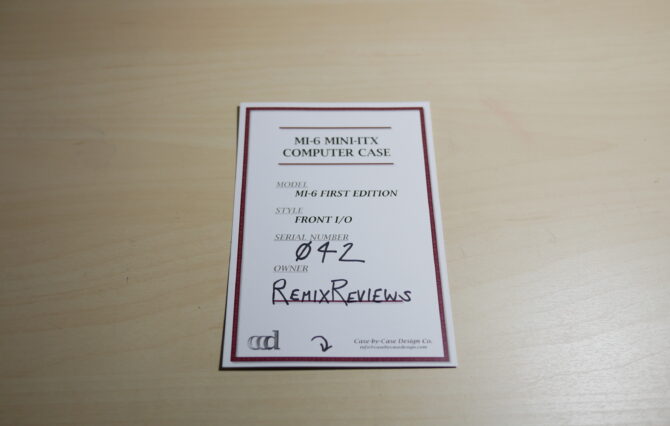
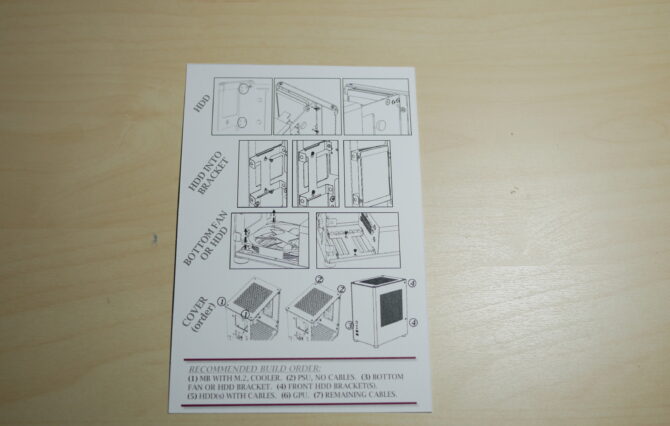

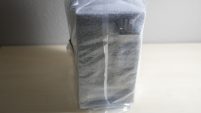
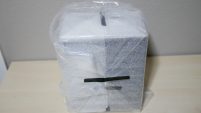
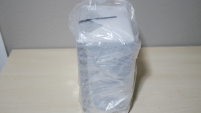
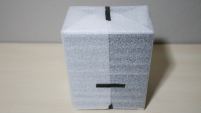
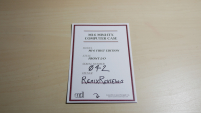
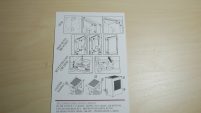
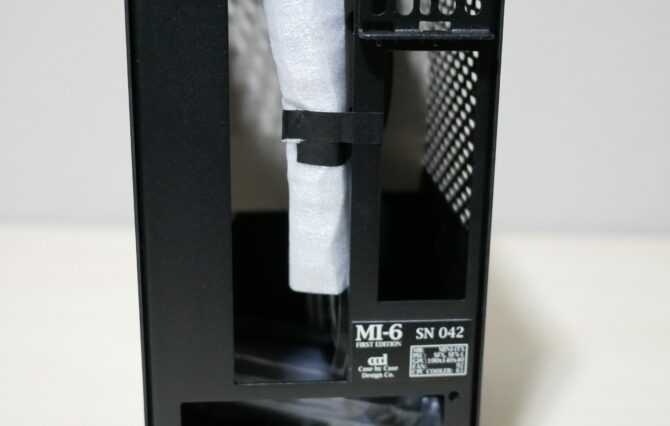
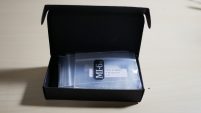
Opening up the box you are greeted with a generous amount of foam protective peanuts and the case itself which is wrapped in a thin layer of foam. As mentioned the case is wrapped in foam and placed in a plastic bag. A card is also included with the case, model, style, serial number and owner. This card is a very nice personal touch that shows the CCD team value your purchase and let you know you are a part of the family. One the back of that card there are picture directions on how to install components in your case and also the recommended build order on the bottom of the card. A nice way to display instructions on how to build inside of this small case without being confusing.
A Closer Look at the Case
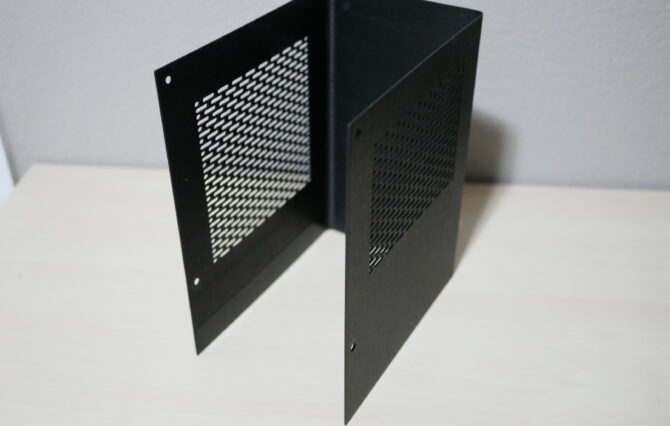
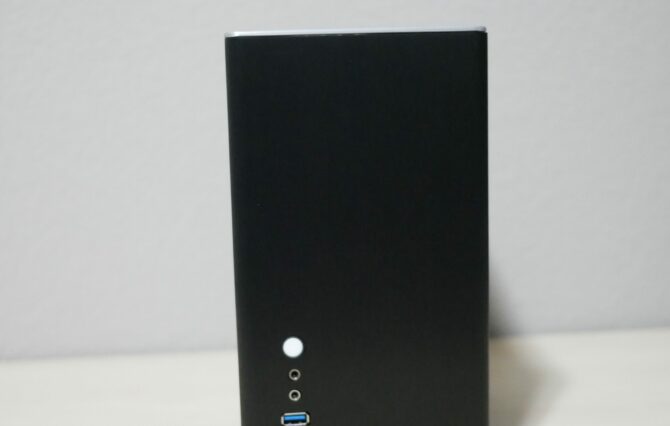
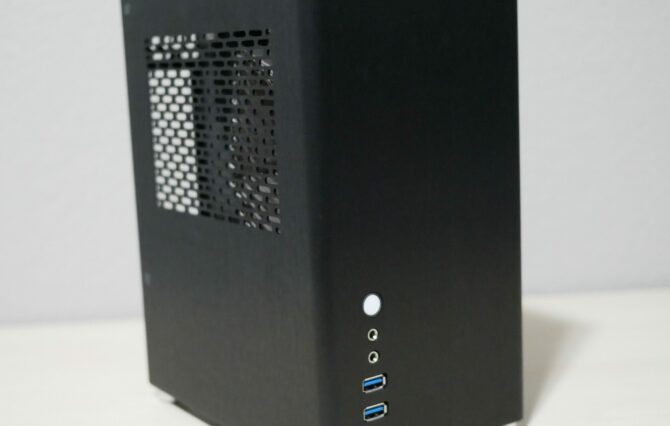
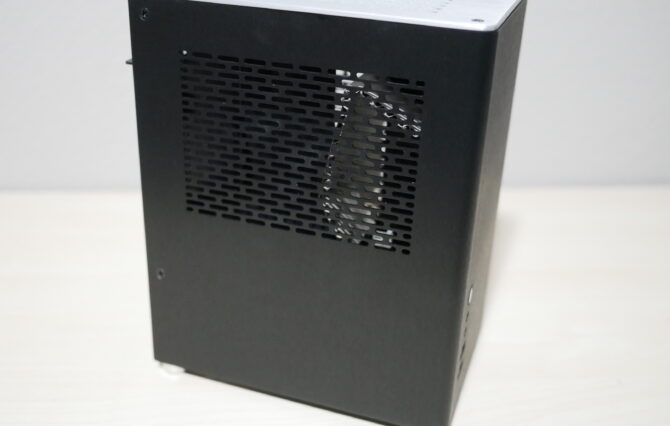
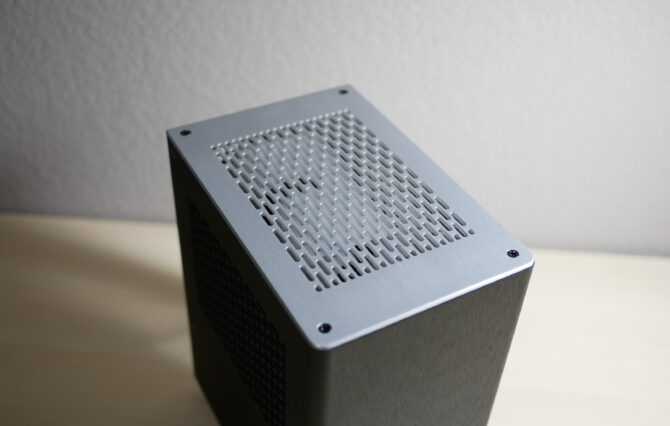
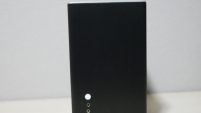

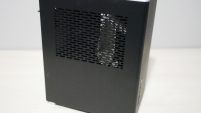
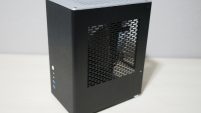
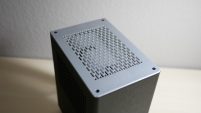
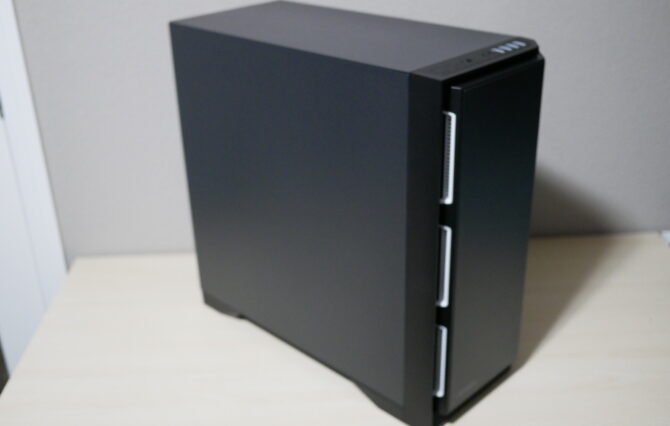
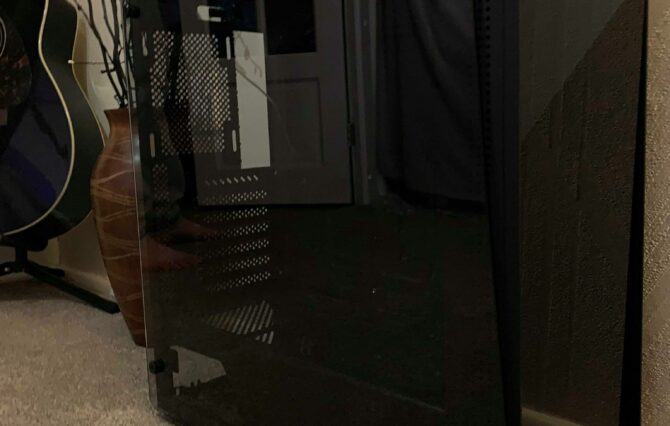
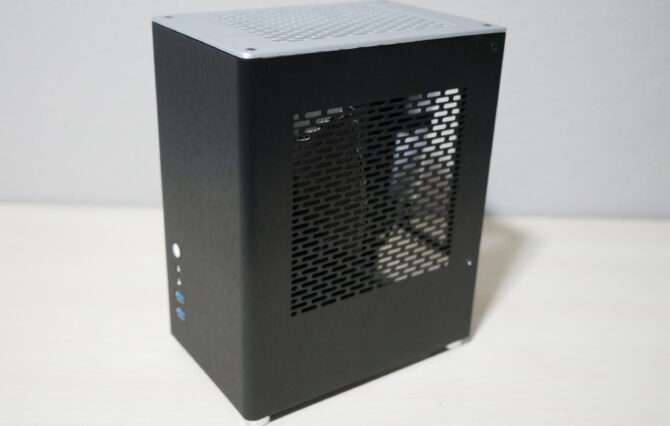
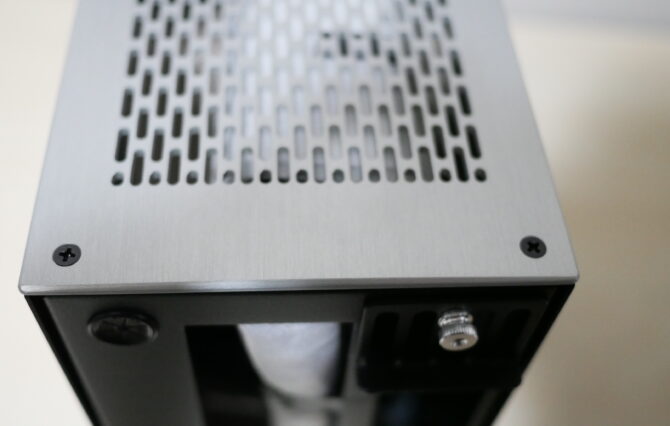
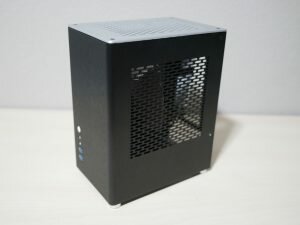
Starting out the first thing I noticed about the case is there are not separate side panels, the case has the front and sides connected into one large U-shaped piece that surrounds the rear and inner structure. At the front of the case, you are greeted with a nice and simplistic layout with a power button, headphone and microphone jack and two USB 3.0 ports. The left side has a large mesh portion that makes up half of the side for GPU ventilation. The right side has a large mesh portion that makes up 75% of the side for CPU and motherboard ventilation. The top has a separate removable panel that is also mainly mesh. The U-shaped aluminium piece and top piece are very sturdy and add to the rigidity of the case. The brushed aluminium pieces really make you feel that you have a premium case. There are no dust filters included, so just make sure to dust out your system every now and then.
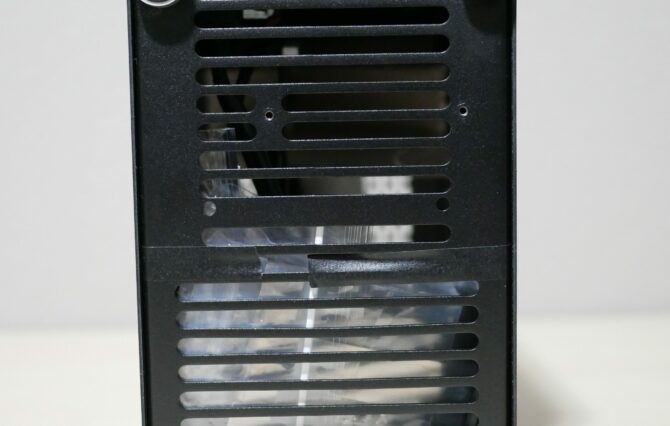
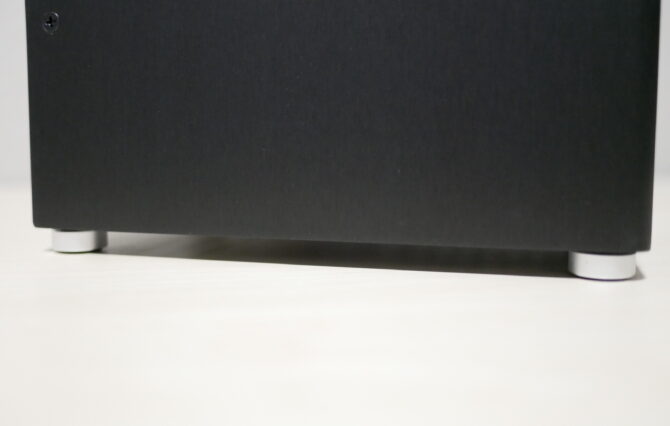
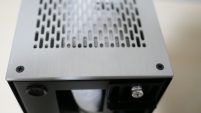

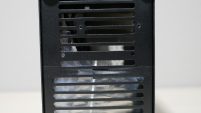

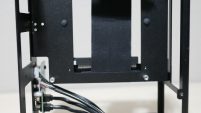
The rear of the case has your rear I/O cutout, your 2 PCI slots and lastly a place for you to secure your SFX PSU. The bottom of the case is mainly ventilation, with room for your PSU to intake air and also for you to secure your 92mm intake fan. There are also four included feet that have rubber on the bottom to minimize scuffing your desk.
The height of the feet is adequate in providing enough clearance for your intake fan and PSU to intake air.
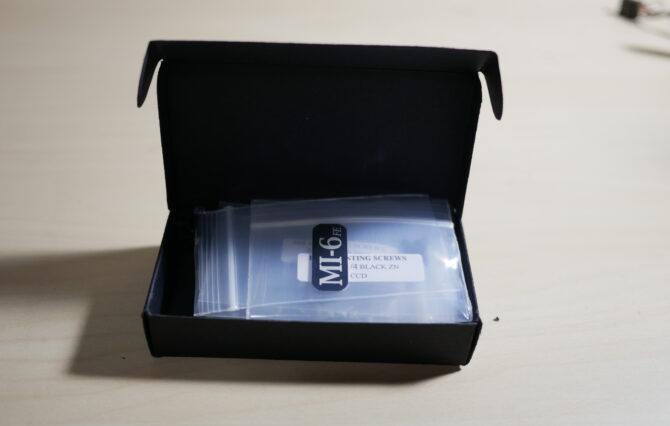
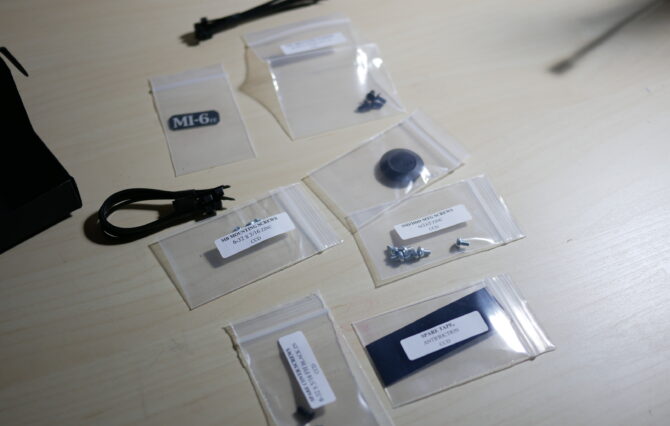

A box with all your accessories is also included. There are zip ties and all the screws needed for the case neatly separated in their own bags and secured in a small cardboard box.
A Closer Look at the inside
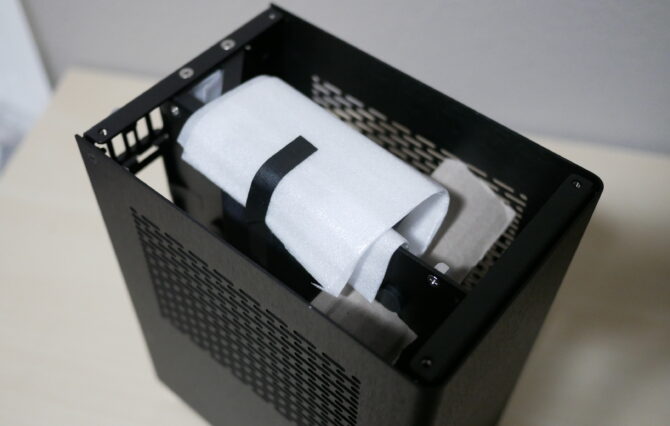
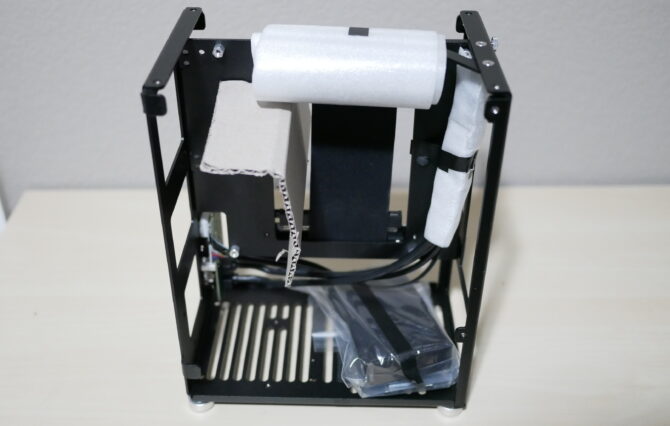
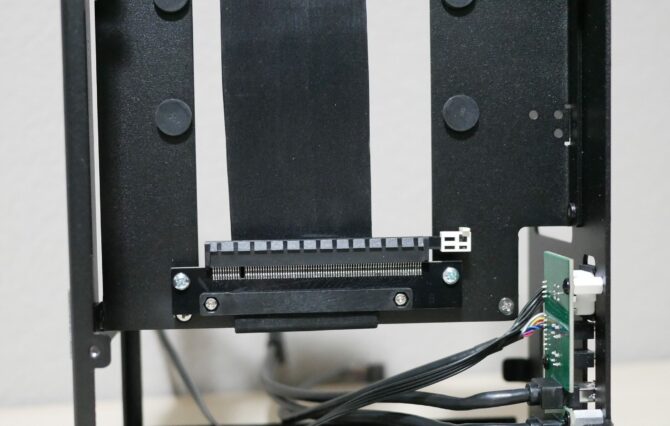
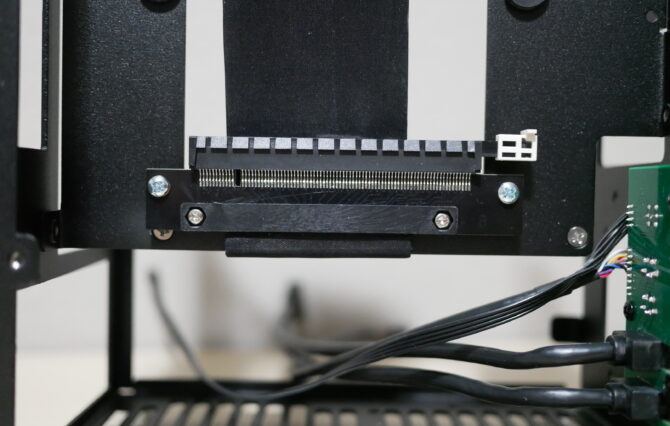
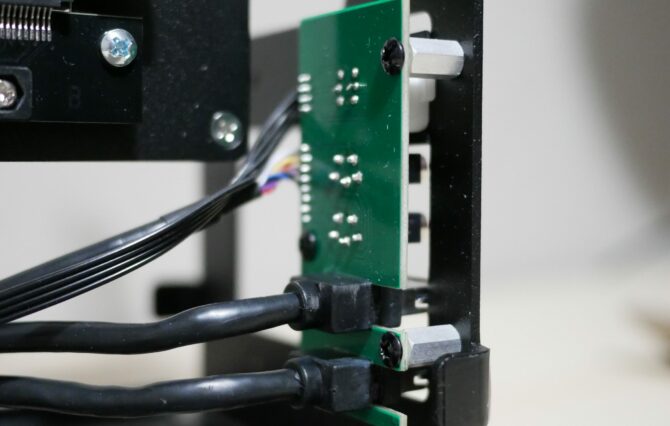
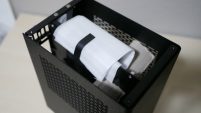
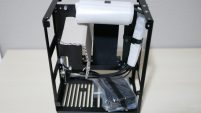
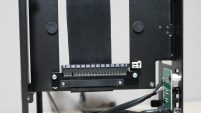
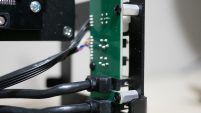
Taking off the top cover, you are greeted with a piece of foam protecting the PCI extension cable during shipping. The front I/O cables are also wrapped in foam to protect the cables during shipping. The first thing you notice about the interior is the premium feel of the matte black aluminium that has rounded edges to protect the user during building. Looking at the left side you notice a large area for the GPU, with isolators to protect the GPU from vibrating against the chassis. You also can notice the PCI ribbon cable that is required to isolate your GPU from the other chamber. Next to the GPU area there are four holes to be able to secure one side of your 2.5” drives. While I know there needs to be taken into to count the motherboard clearance, I wish the 2.5” drive mounting holes were space a tiny bit more apart to put less stress on the data and power cables for those two 2.5” drives. Below you have the mounting for the Front I/O. Lastly, you have the area in the PSU area where you can mount a 92mm fan. The 92mm fan needs to be 14-16mm thick or it will not fit due to clearance issues with the front I/O mounting location and circuit board. There are two fans that currently fit the Noctua NF-A9x14 92mm and ID-Cooling NO-9215 slim 92mm fan. The front I/O cables are well wrapped to have that black appearance to not interrupt any build color scheme.

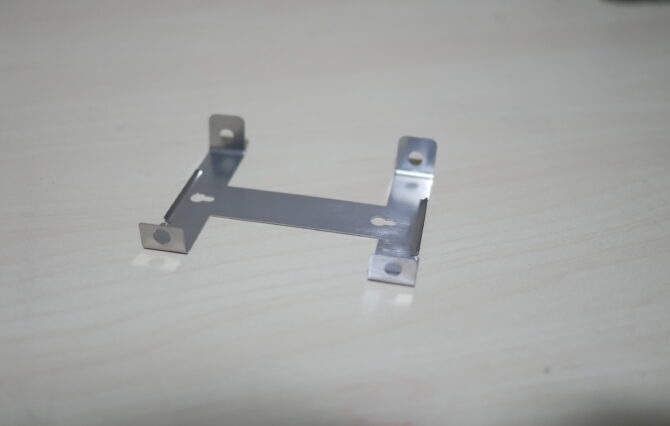
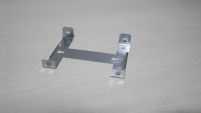
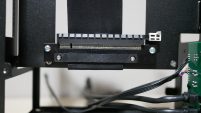
On the right side of the case you have your main chamber for the motherboard and 2.5” drives. The 2.5” drives will be to the left at the front of the case. The motherboard standoffs are preinstalled and provide enough height clearance to not interfere with any CPU backplates or an m.2 ssd. At the bottom you have your area for the PSU, there is plenty of room for an SFX PSU and 92mm fan at the bottom. Also taking a great look at the chassis, while there are cutouts to be able to provide cable passthrough, there is also rigidity built in mind with bracing and those cutouts only being placed where necessary. A quick-release mount was supplied with my case. In my initial build, I did not use it, for cleaner aesthetics (mount is silver). I will take pics of what it looks like with the mount installed.
Test System and Build Impressions
The system being put in this case is my test bench setup. It consists of the following parts:
-
- CPU: AMD Ryzen 5 2400g
- Motherboard: Gigabyte AB350N Wifi
- Memory: OCPC Gaming 16gb 2400 Mhz
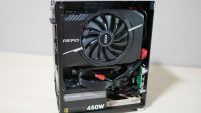
- GPU: MSI GTX 1070 AERO ITX
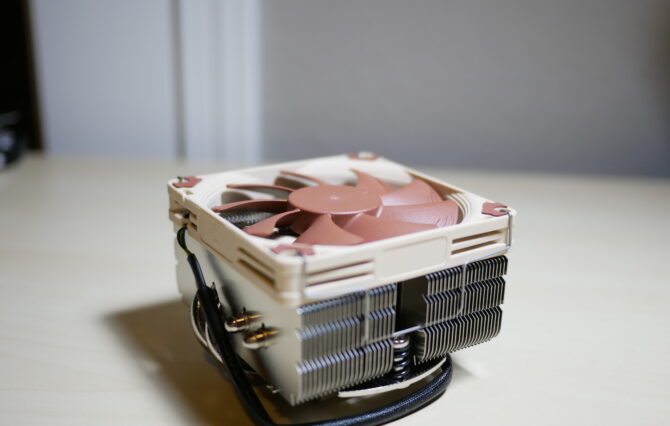
- CPU Cooler: Noctua NH-L9x65 SE-AM4
- PSU: Thermaltake 450w SFX
- Storage: 240g Samsung 850 Evo SSD, 240g OCPC Gaming SSD

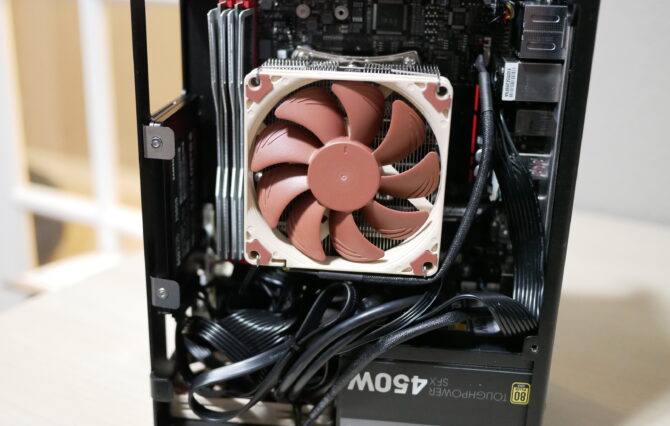
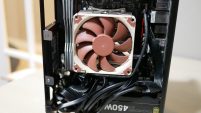
Completed Build
Completed Build -

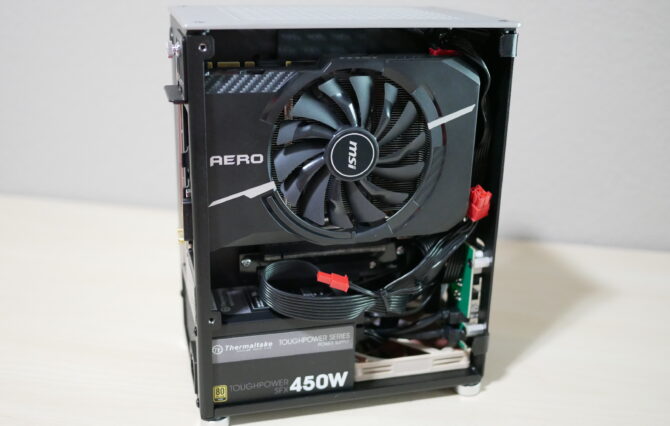
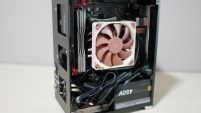
Building, in this case, was a joy and easy considering it is an ITX case. I love how gaffers’ tape is provided on the corners of the chassis that could scrap against the aluminium cover. I love the attention to detail and the little things like the fully stocked accessories kit that has more than enough parts to build in this case. The most difficulty I had was with the Gigabyte AB350N Wifi a majority of the connectors on the motherboard are near the bottom of the motherboard (the motherboard has an inverted layout in this case). This made the cable runs not as clean. I also did not have custom cables with this PSU, which makes the build look a little cluttered above the 92mm fan.
CCD MI-6 ITX Case
- All aluminum construction
- Premium feel
- A space for a 92mm intake fan
- Packaged well for shipping
- Great information card with user info and simple picture directions
- Nicely packaged accessories box that is clearly marked and organized for user
- Front I/O is a little low making it mandatory to use a 14-16mm thickness 92mm fan
- 2 SSD mounting holes to close, puts extra strain on data and power cables.
Overall, I’m impressed by the CCD Mi-6. I have built in a few ITX cases, like FD Nano S, NFC S4 mini and this case has been one of the easiest ITX cases to build in. I like how 6.7L design takes up space vertically rather than horizontally, without making it bulky. If you are looking for a premium ITX case sub $200 range, that sits nicely on a desktop, take a look at the Case-by-Case Design MI-6.