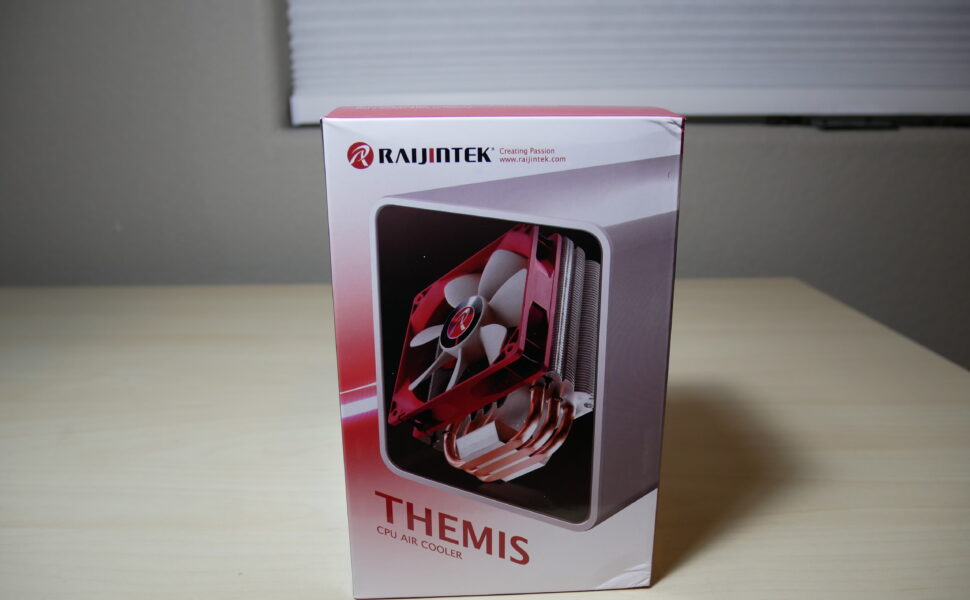

RAIJINTEK THEMIS 120mm CPU Cooler
Overall the Raijintek Themis really impressed me, especially because it is a cooler that comes in at $25-28.The free flow fin design and the direct contact heat-pipes definitely make the cooler efficient at cooling even a Ryzen 7 1700X at 3.8 ghz. I like how there are two ways to mount the cooler, either with the rubber connectors or the metal brackets. The mounting solution is easy to install. I wish backplate and thumb screws were metal but at this price point it's understandable. The packaging and how the heatsink is secured in the box should be improved because a few of my fins were bent, but this overall did not affect the performance of the cooler.
- Price
- Efficient Cooling even at 3.8 ghz
- Easy installation
- Great colors and aesthetics
- Heat-pipes direct contact with the CPU
- Two ways to mount the fan
The Raijintek is not a new company when it comes to CPU coolers. They are designed in Germany and have been around a few years. The Themis is not a new CPU cooler to the market. The company has followed suit with several other companies in making sure some of their coolers are compatible with the new AMD Ryzen lineup via a separate AM4 bracket. Today we are going to review the Raijintek Themis and take a look at how well this sub-$30 cooler works on AMD Ryzen.
Key Features
- Non-Copper base design (C.D.C CPU Direct Contact)
- Patented pressing heat-pipe/fin technology to prevent risk of heat-pipe damage
- Patented solder-less louver fin assembly to increase heat-pipe ventilation
- Anti-Vibration rubber used to minimize movement and noise
- Large dissipating area and an elegant fin design
Specifications
- Dimensions (W x H x D): 122 x 50 x 158mm
- Weight: 448 g [Heat Sink Only]
- Heat-Pipe: 3
- Aluminum Alloy Fins
- Fan Dimensions (W x H x D): 120 x 120 x 25mm
- Speed: 1000~1500 R.P.M.
- Bearing Type: Sleeve Bearing
- Air Flow:8~65.68 CFM
- Air Pressure:0~2.24 mmH2O
- Noise Level:53 dBA [Max]
- Connector: PWM
- Compatibility: All Intel and AMD sockets
Unboxing


The CPU cooler arrived in a very neat and decorative box that has a few pictures of the cooler, specs, and key features. Once you dive inside the box you have an accessories bag, the Heat Sink Fan, Heat Sink and instructions. The Heat Sink was secured with two cardboard supports to try and hold it in place and protect it from damage. My cooler arrived with a little bit of damage on the bottom few rows of the fins and a few small dents at the top of a few heat-pipes. I wish that there had been better packaging protection or support for the CPU cooler. From testing, it was determined that the damage was just cosmetic and did not affect how the cooler performed at all, see more under the benchmarks.
The accessory box that is included has everything you need from screws, a backplate and both metal fan brackets and rubber fan mounts.
A Closer Look at the Cooler


The Themis has 3 heat-pipes that make direct contact with the CPU using their C.D.C, which reminds me of the heat-pipe contact of one of the most popular coolers the Cooler Master Hyper 212-Evo. The fins are made of aluminium and feature an elegant fin design.
The Fan is the size of a normal 120mm fan. It appears in their signature white and red fan color combo with 7 blades. It can be secured to the cooler with metal brackets that wrap around and secure to the cooler. It can also be secured using the provided rubber mounts which limit noise and vibration.
Test System and Installation
System Parts:
- Processor: AMD Ryzen 7 1700x
- Motherboard: Asus X370 Crosshair 6 Hero
- Graphics Card: Powercolor RX Vega 64
- Memory: G-Skill Flare X 16gb
- HDD: Western Digital Caviar Blue 500 GB
- SSD m.2: Crucial MX300 525 gb
- Power Supply: Corsair AX650
- Case: Geeek PC T810
Overall the instructions were straight forward and the CPU cooler installation was very easy. You remove any existing cpu cooler mounts. Place the backplate on the back of the motherboard. Use standoffs to secure the backplate. Mount the intel or amd brackets to the standoffs. Lastly, is to attach the mid-plate to the cooler and place it on the brackets.
Performance
I tested this cooler with the AMD Ryzen 1700x in two configurations. The first was with the CPU at stock clock speeds (Blue). The second was with all cores overclocked to 3.8 ghz (Orange). The benchmark settings can be found below:
Idle Temps: After idling for 5 minutes
Ashes of the Singularity: DX12 CPU benchmark
Cinebench R15: 3 consecutive runs
Asus Realbench: 15 minute stress test with 4 gb Ram usage
SuperPi: 32M
Rise of the Tomb Raider: High Preset, SMAA, VSYNC dbl buffer
Click on the images to see the information closer.


