Antec DF 500 Case, is this the right case for you?
Today, we take a look at a brand new case by Antec, the DF500 ATX case. This case comes in an RGB variant with 3 included 120mm RGB fans, an integrated fan controller, and an RGB button, but this review will focus on the non-RGB variant, with no fans had with an MSRP of $69.99.
Table of Contents
Antec DF 500 Case Specification
- Dimensions: (WxDxH)
- Weight: 200 mm x 470 mm x 480 mm
- Material: Steel
- Colors: Black
- Motherboard Support: ATX, M-ATX, M-ITX
- Drive bay Storage: 2X3.5” hdd, 4X2.5” hdd/ssd
- Expansion slots: 7 tool free PCI slots
- Power Supply: Standard ATX
- Cooling System: Rear Fan: 120 mm x 1, Top fan: 120 mm x 3, Front Fan: 120 mm x 3 or 140 mm x 2 and a 240/360 mm Radiator (55mm max thickness with fans)
- CPU Cooler Height: 165 mm
- GPU Card Length: 380 mm
- PSU Length: 200 mm
- Side panel: Steel side panel on back side and Tinted Acrylic side panel and front panel
- Front I/O: Power Button, Reset Button, 2 x USB 3.0, Headphone Jack, Microphone Jack
- Weight: 6 Kgs
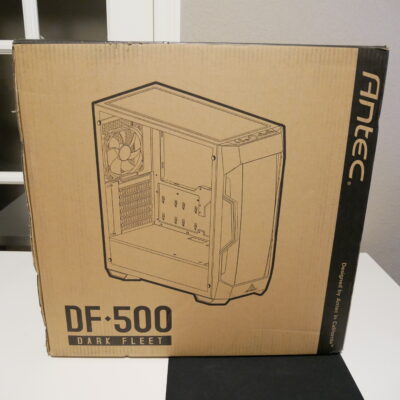
Antec DF 500 Unboxing
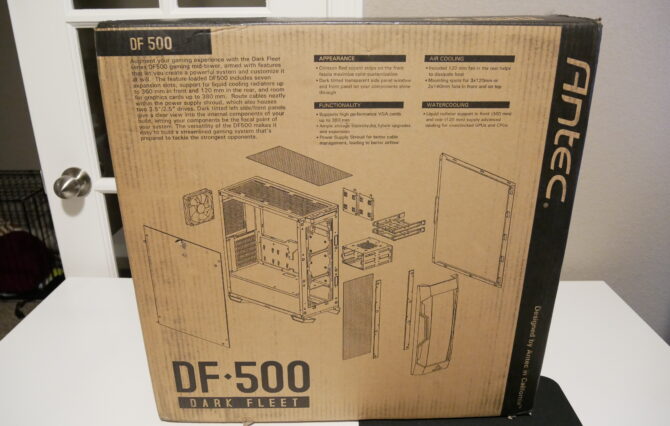
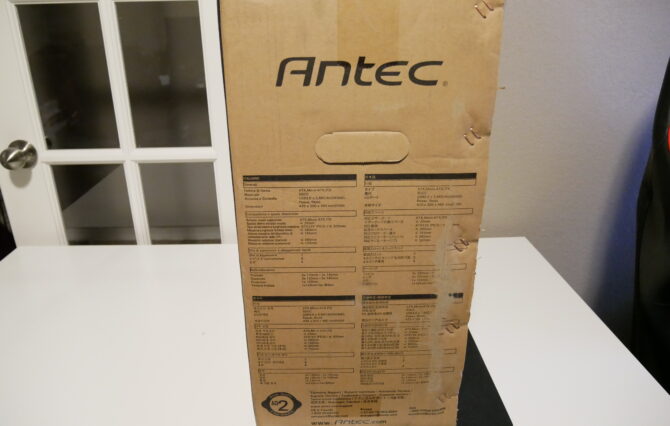
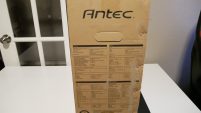
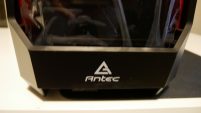
Taking a look at the box, it is your standard size Mid-tower box. The outside of the box has a picture of the case along with specifications listed on the back.

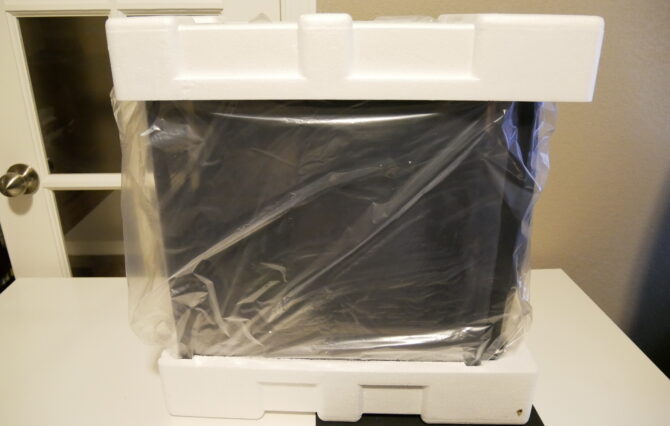
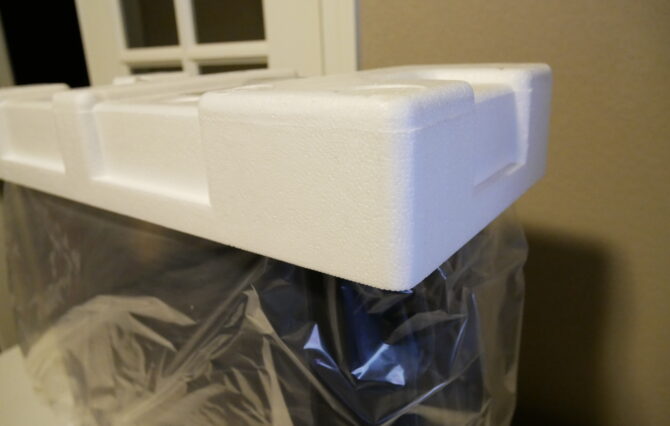
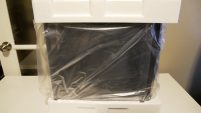
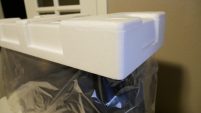
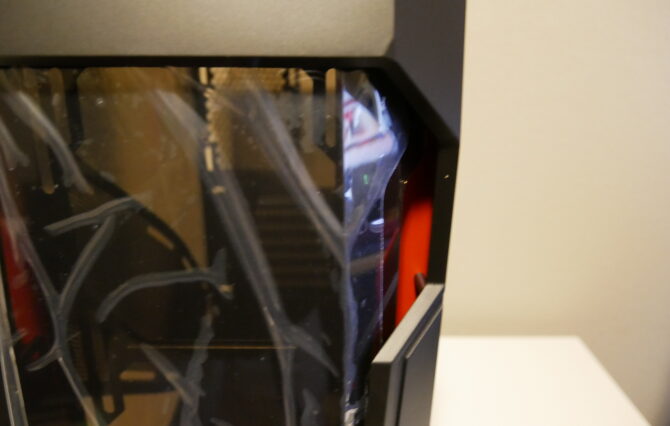
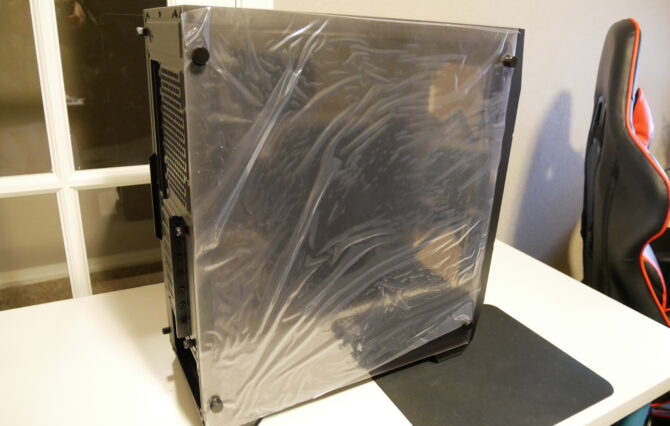
Opening up the box, you find the case surrounded by two sizeable rigid foam inserts along with a plastic bag to protect the case from dust or fingerprints.

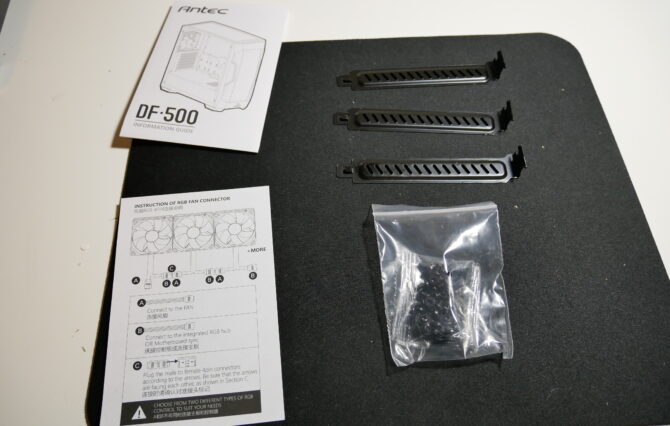
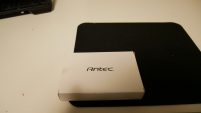
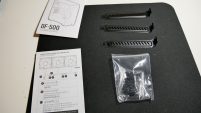
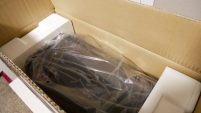
There is a box located inside one of the drive sledges with all of the included accessories and screws for the case.
A Closer Look at the Case
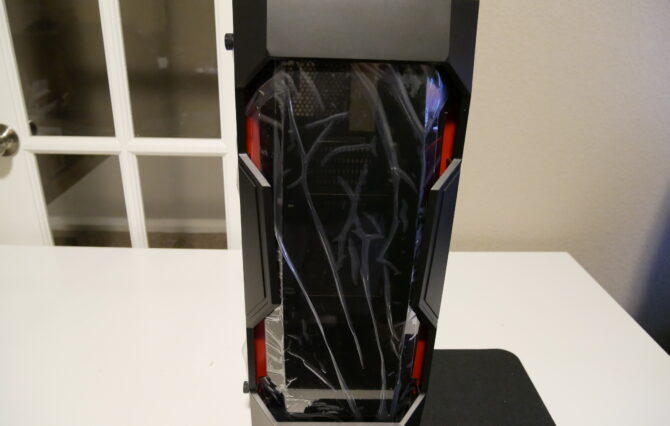
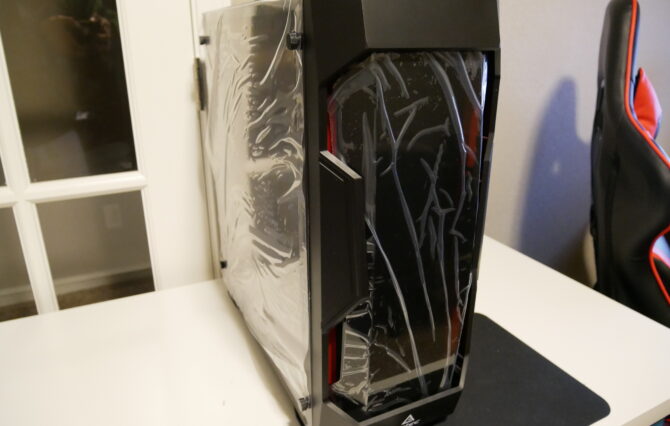
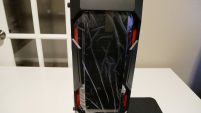
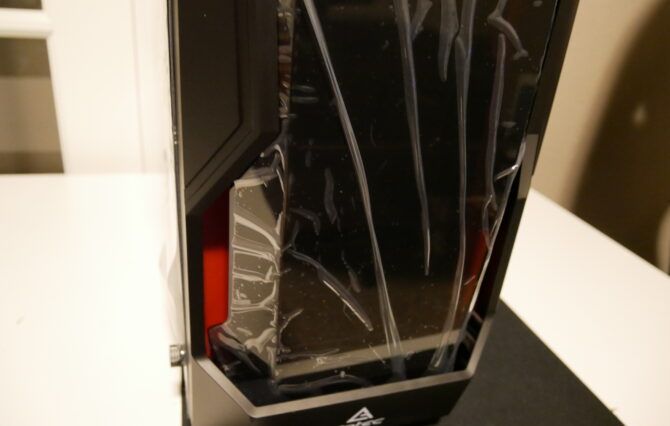
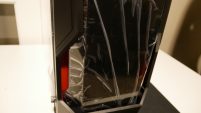
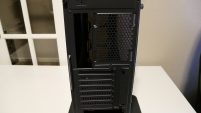
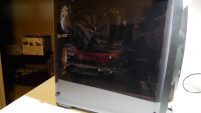
Starting at the front of the case, you are right off the bat shown great aesthetics with the front dark tint acrylic panel. It is flat and has two 45-degree angle edges that contour nicely with the front of the case.
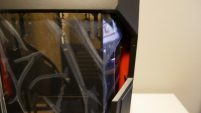
There are four ventilation areas at the front that are accented with Crimson Red accent strips. These accent strips are removable if they don’t match your build, you can, however, they also paint them, but overall, they highlight the front intake areas. Besides the four Crimson Red accents, the entire case has an all-black appearance allowing you to easily match the case to any build or even customise the case if you wish.
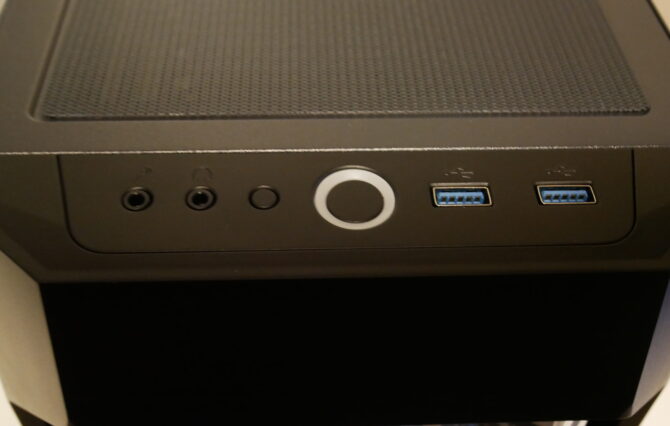
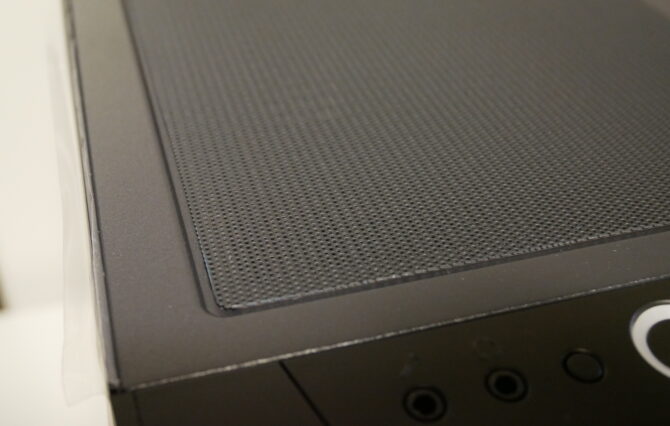
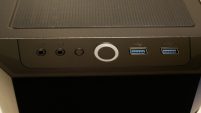
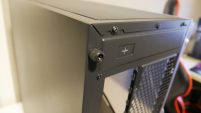
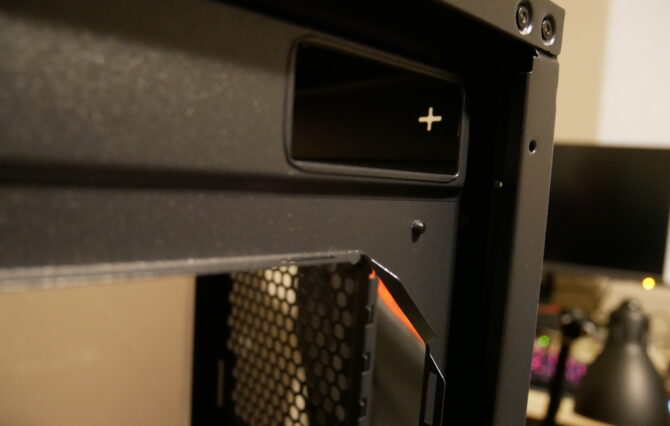
Moving to the front IO, you notice a Mic, Headphone jack, reset button, large power button with an illuminated ring around it and finally, two USB 3.0 ports.
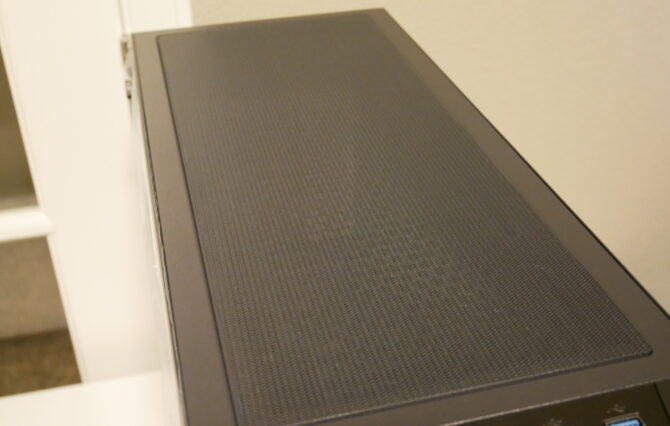
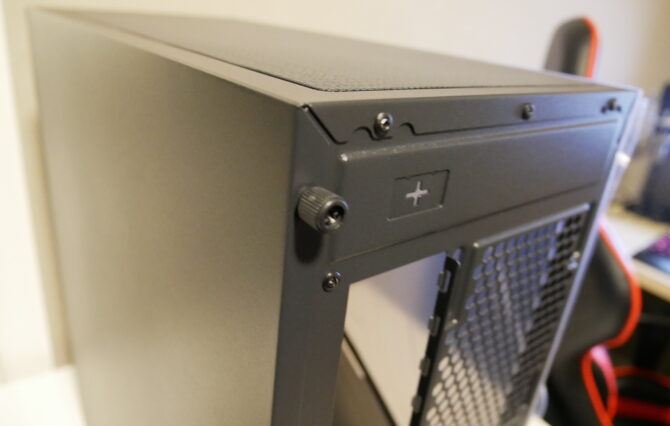
The entire top of the case is ventilated with mesh construction, and it is nice that Antec does include a magnetic dust filter for the top of the case, even at a price.

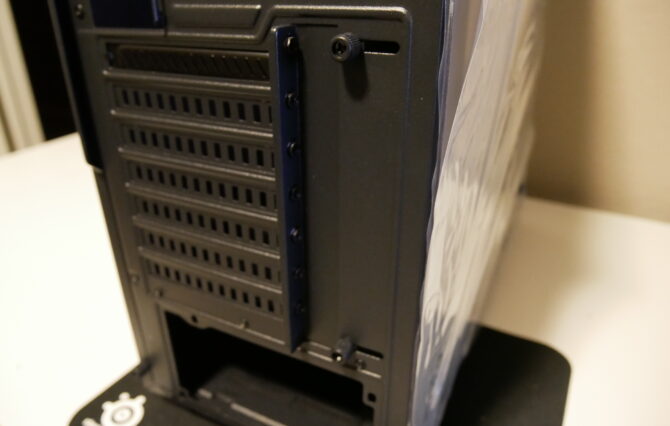
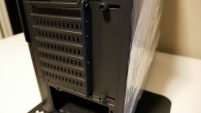
You find your rear IO cut-out at the rear of the case, mounting for a 120 mm adjustable fan, seven PCI-E expansion slots, and finally, the cut-out for your PSU.
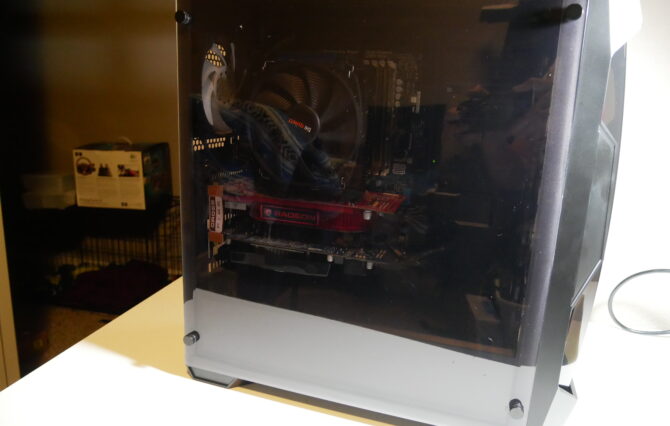
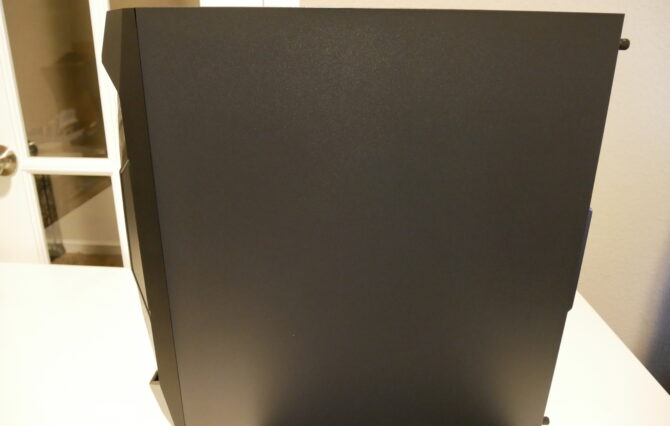
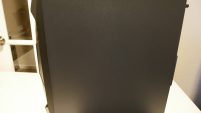
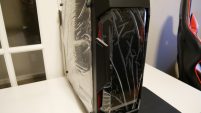
The Left-side panel is made entirely out of Acrylic, and it is dark tinted. It is secured with four thumbscrews. The Right-side panel is just a standard steel side panel, which is pretty sturdy because it has little flex.
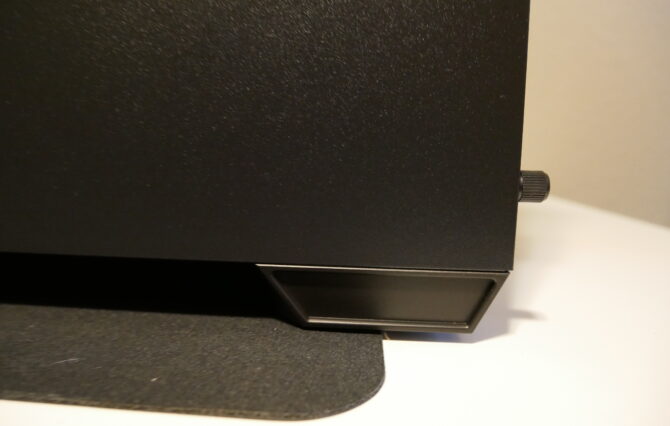
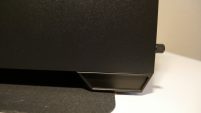
This side panel is also secured with two thumbscrews at the rear of the case. At the bottom of the case, there are four reasonably large plastic feet with rubber on the bottom to minimise surface scratching. There is also fan ventilation for your PSU to draw in cooler air.
A Closer Look at the inside
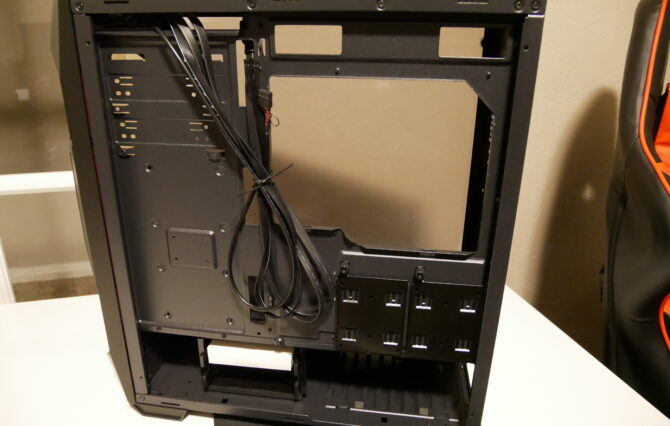
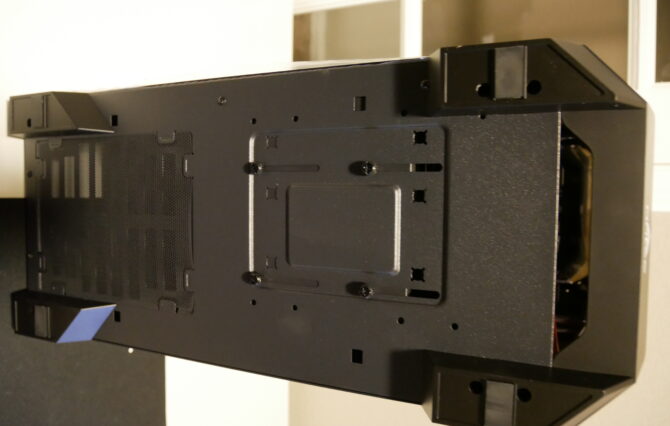
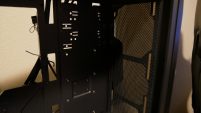
First, we will start by looking behind the right-side panel or the back of the motherboard tray.
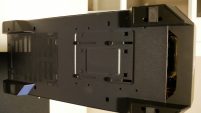
You are welcomed by a large CPU cutout in the motherboard tray to mount your backplates for your air or liquid CPU cooler without removing the motherboard. This is great to see the flexibility included. Next, at the top of the motherboard tray, there are two cutouts to route your fan cables and especially 8-pin + CPU power cables to their designated area.


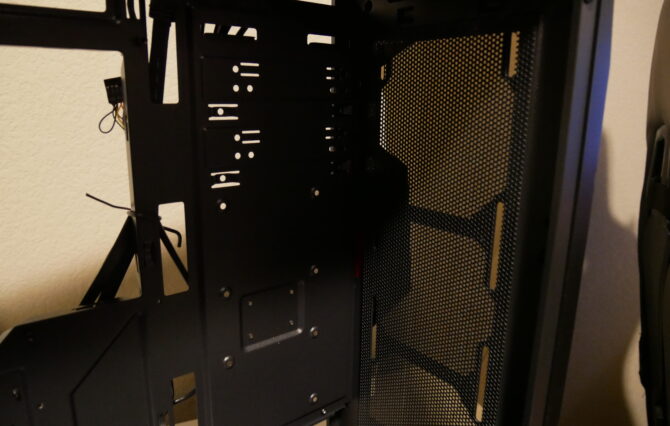
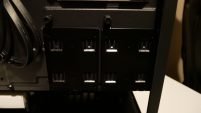
Below the CPU cutout, there are two places to mount 2.5” SSDs. Below the SSDs, there is a large area at the bottom of the case for your PSU, cables, and a drive cage for two 3.5 or 2.5” HDD or SSDs. The drive sledges that are provided are the kind that you bend and insert the drive-in. I wish that the drive sledges expanded to insert the drive rather than turn the sledge to fit the HDD. If you insert an SSD into the drive sledge, you have to secure it with four of the provided screws.
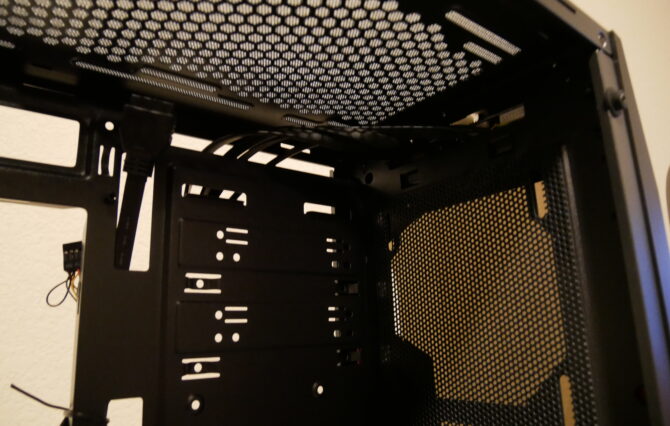
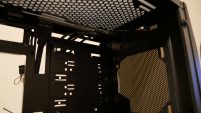
Next, we will examine the main chamber or what is behind the left-side panel. You notice right away there is a lot of space with minor obstructions.
You see mounting for 3 x 120 mm or 2 x 140 mm fans and up to a 360 mm radiator (up to 55 mm thickness including fans) in the front of the case. Another magnetic dust filter is included, which is another excellent touch considering the price of this case. There is space for two 5.25” drives if needed. Also, at the front of the case are two additional mounting locations for two more SSDs and cutouts to route your cables.
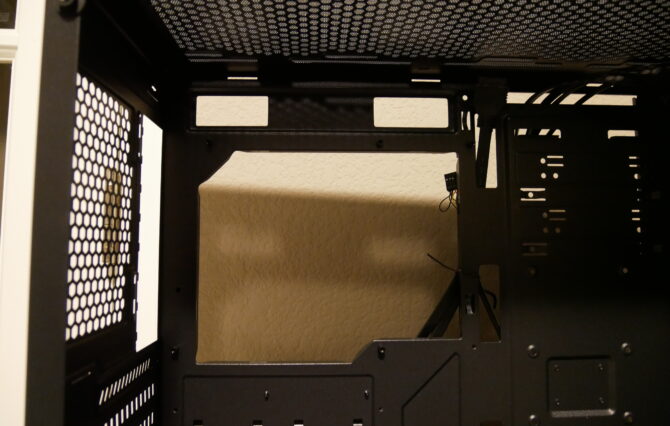

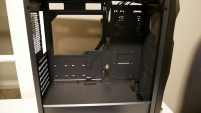
At the top of the case, there are mounting locations for 3 x 120 mm fans. In your motherboard tray area, you have mounting holes and room for either an ITX, M-ATX or ATX motherboard. Several cutouts surround the motherboard tray for proper cable management.
Lastly, at the bottom of the motherboard tray is a PSU shroud to separate your PSU from the temperature zone of the central bay and help with cable management and aesthetics.
Test System and Build Impressions
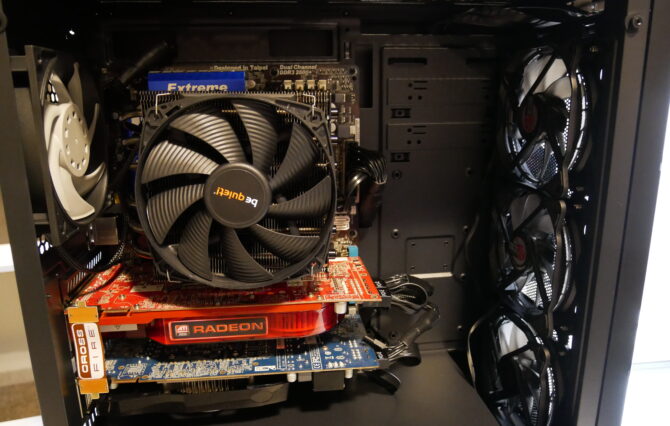
The system being put in this case is my test bench setup. It consists of the following parts:
- CPU: Intel Xeon X3450
- Motherboard: Asrock P55 Extreme 4
- Memory: OCZ Gold 4 x 2gb 1600 mhz
- GPU: Sapphire HD 4890 Vapor-x 1 gb, MSI HD 4890 1 gb
- CPU Cooler: be quiet! Dark Rock TF
- Storage: Sandisk Ultra II 240gb ssd
- PSU: Antec High Current Gamer Gold 650w
Starting with the installation, the first thing I accomplished was to remove the drive cage at the bottom of the case because I knew that I would only be using SSDs for this build. Also, removing the drive cage allows more room for your PSU cables. Antec released this drive cage quickly by adding thumb screws at the bottom of the case.
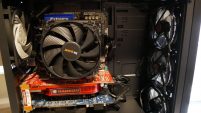
My next step was to install my three front fans and a rear case fan. This is not necessary on the RGB variant as that case comes with fans. Removing the front cover was not difficult and did not require much force.
Once removed, I installed my three front intake fans (I provided the three intake fans and the screws). Unfortunately, there are no fan screws supplied with this case, so keep that in mind. Lastly, I installed my rear fan with ease.
Installing the motherboard was a breeze. Just remember to make any standoff changes before you install the motherboard. I had to add two more standoffs (provided in the accessories) for my motherboard.

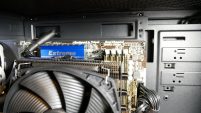
The cable routing cutouts made it easy to route the 24pin cable and 8pin CPU cable to their appropriate location.
One thing I did wish was that there were also cable routing cutouts provided in the PSU shroud. This would make routing the HD Audio cable or USB cables more aesthetically pleasing.
The rest of the build went through without much trouble, and overall, I love the look of the final build.
Antec DF 500 Computer Case
View on AmazonOverall, for a case that is under $60, this case has almost everything you need to not only complete your awesome computer build, but it also includes some premium features while keeping the price in mind for the consumer.
- 3 included Dust Filters (Front and Top are magnetic)
- 4 SSD mounts
- Price
- Steel Construction
- Water Cooling Support
- Tinted Large Acrylic side panel
- Mounting for seven fans
- Many cable cutouts to route cables
- Thumb screws provided to remove the HDD drive cage
- Easy mounting for Acrylic Side Panel
