Raijintek Asterion Plus Review
Today, we take a look at another case by Raijintek. This time we are going to be examining one of their larger cases, the Asterion Plus. The Plus has two acrylic side panels that have handles built-in, but you can also get the Classic which has Tempered Glass side panels.
Case Specification:
- Dimensions: (WxDxH) 230x470x525 mm
- Weight: 18.7 lbs or 8.5 Kg
- Material: Aluminum
- Colors: Black or Silver
- Motherboard Support: E-ATX, ATX, M-ATX, M-ITX
- Drive bay Storage: 3X3.5” hdd, 6X2.5” hdd/ssd
- Expansion slots: 8 tool free PCI slots
- Power Supply: Standard ATX, Modular is suggested
- Cooling System: Rear Fan: 120/140mm x 1 (pre-installed), Top fan: 120mm x 3 or 240/280/360mm Radiator, Front Fan: 120mm x 3 (2 pre-installed) or 240/280/360mm Radiator
- CPU Cooler Height: 180 mm
- GPU Card Length: 340 mm
- Side panel: Aluminum with Acrylic windows on both sides (Classic side panels are Tempered Glass)
- Front I/O: Power Button with power LED
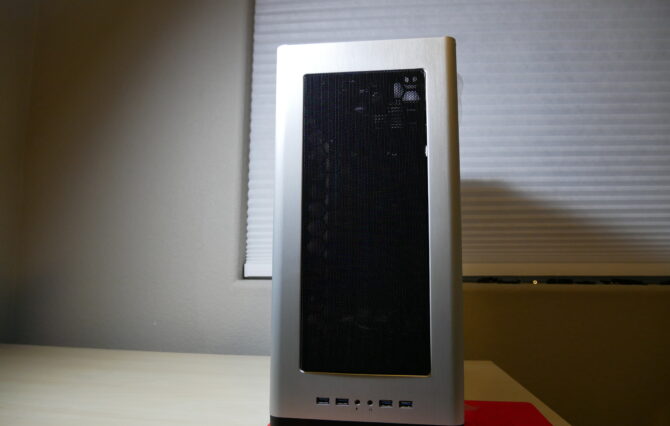
- Top I/O: 4 x USB 3.0, Headphone Jack, Microphone Jack
Unboxing
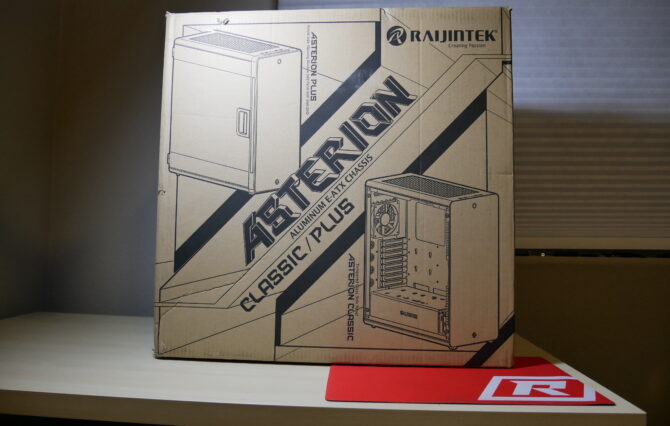
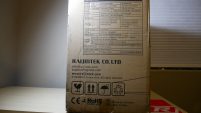
When this box arrived I knew this was going to be a big case. The box alone comes close to the height of my desk. This is great however, because I have mainly been reviewing Micro ATX and Mini ITX cases, so this is refreshing. The cardboard that the box is made of is a little thin.
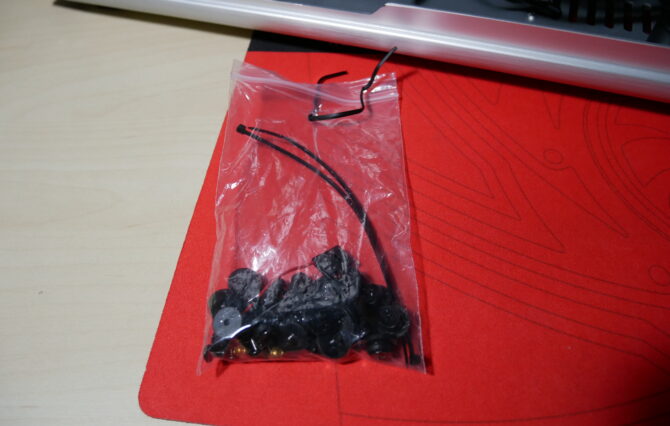
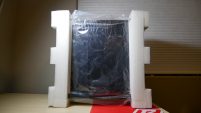
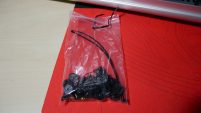
After opening the Asterion, I was surprised to see soft cell foam and a plastic bag inside the box, which does a great job of protecting the case. A bag inside is included, which holds several bags of screws and cable ties that are included with the case.
A Closer Look at the Case
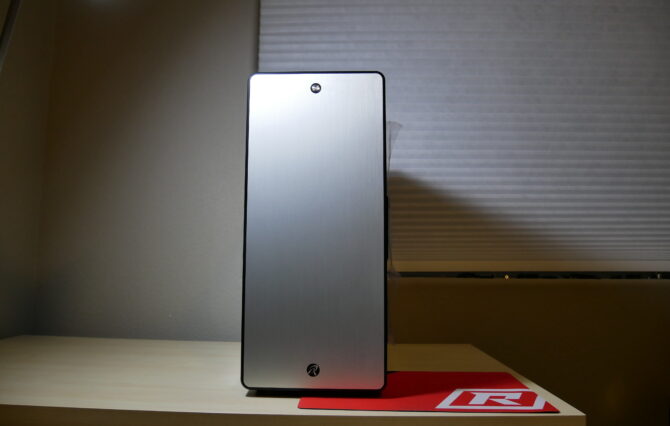
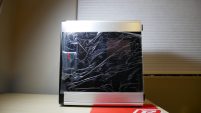
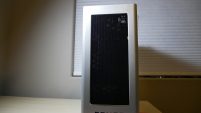
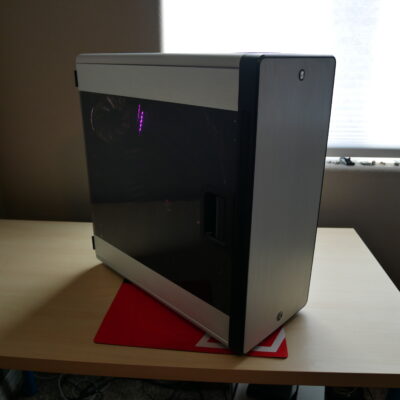
When Taking a closer look at the entire case, its huge. The Front, Top, Bottom and Side panels are all made out of aluminium. The chassis feels very sturdy, but once again can be a fingerprint magnet, which is why I opted for the silver case. Every panel in this case is is secured with screws, which is great news if you happen to be a modder because you can easily take apart this case to customize and paint it to your liking. The Front is a solid piece of aluminium that has the Raijintek logo.
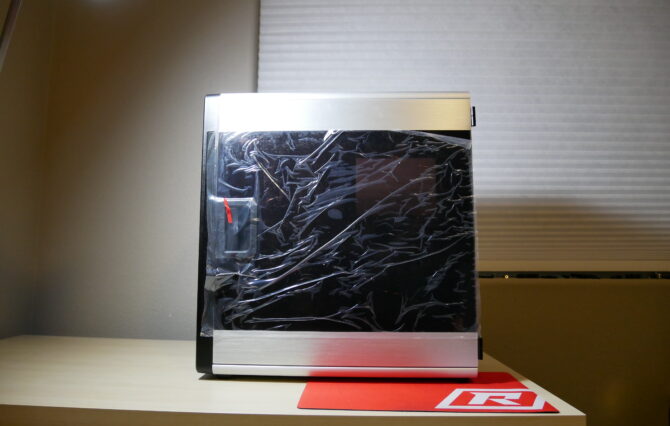
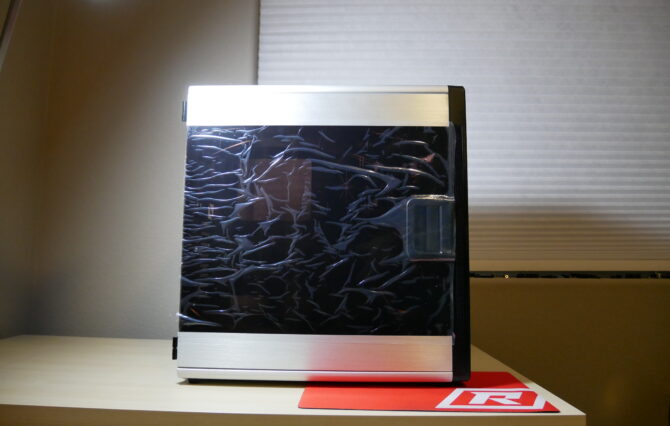
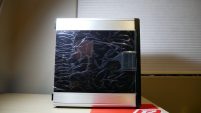
The right side panel is two pieces of aluminium with an acrylic window that has a handle built-in. There are also magnets at the top and bottom of the side panel to help secure the panel to the chassis. The left side panel is exactly like the right side. Both side panels are on hinges. The Top of the case has a large 360mm dust filter.
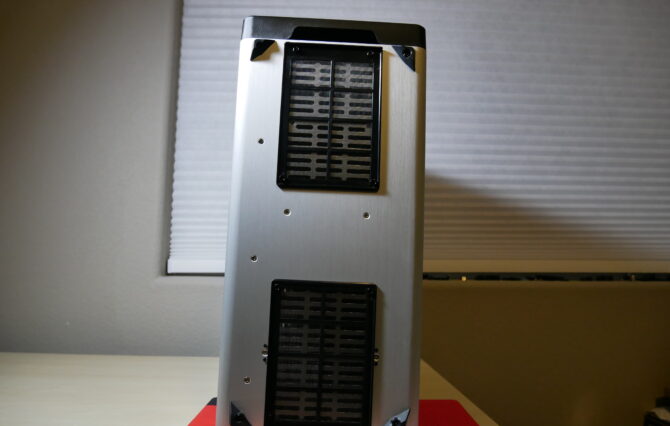
The filter is removed by pushing a release tab on the inside of the case. The bottom of the case has ventilation for the PSU.
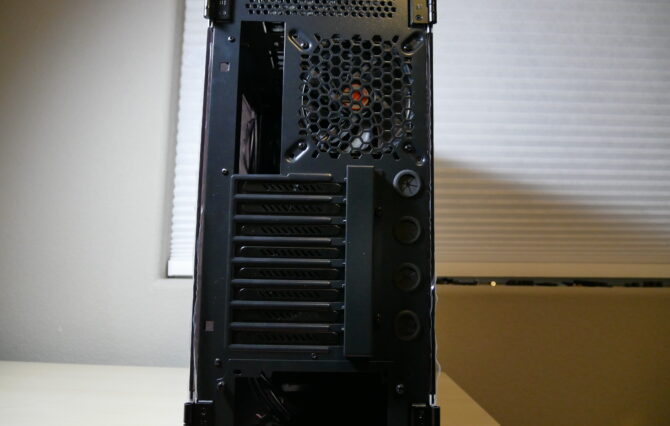
There are also two dust filters at the front and rear, which are secured by screws. The rear of the case has a 120mm exhaust fan at the bottom and 8 PCI expansion slots with a cover over the securing points.
A Closer Look at the inside
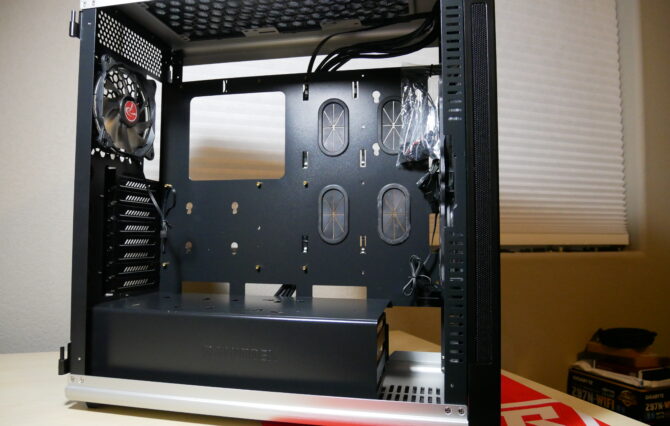
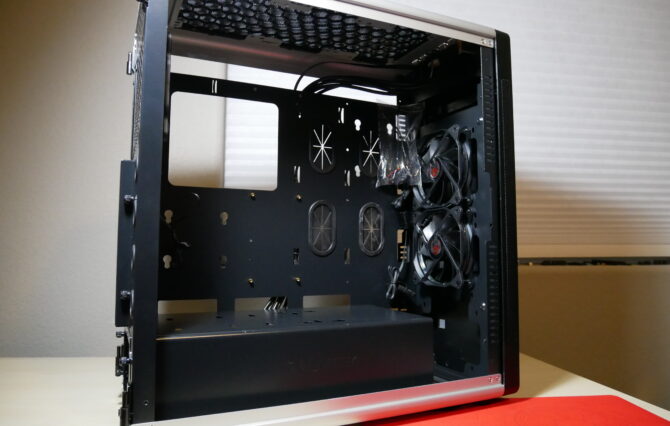
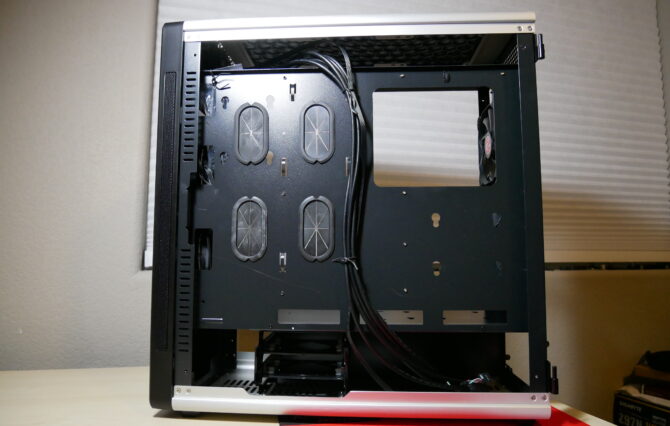
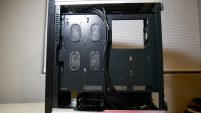
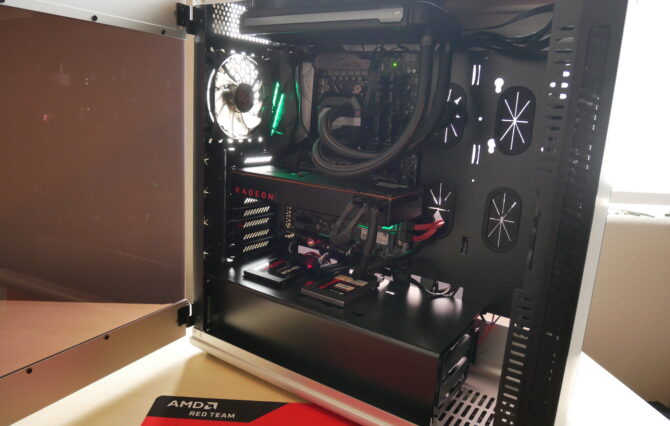
Looking at the inside of the case, the motherboard tray is large and can accommodate E-ATX. There is an opening above the motherboard tray to pass cables, along with many rubber grommets situated around the tray.
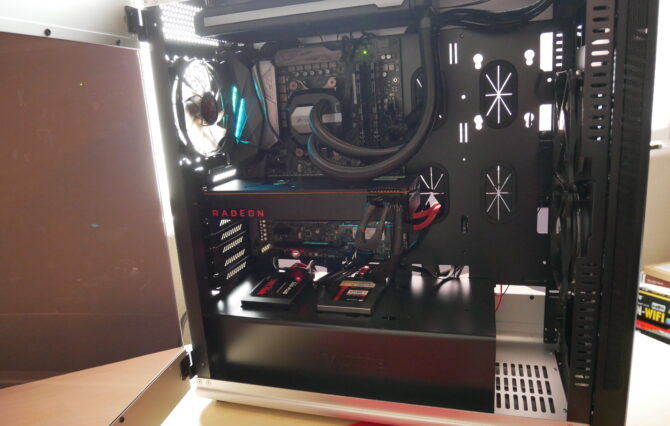
There are also cut-outs below the tray to be able to pass cables. On top of the PSU shroud there are two mounting spots for ssds. Along with grommets, there are several spots on the front to be able to mount a water cooling pump or reservoir. The front of the case as mentioned before is a solid piece of aluminium and there are slits around the front that let air inside the case.
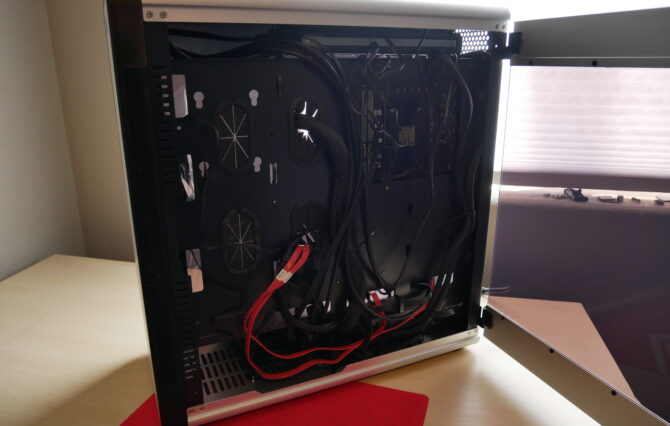
There is a removable front fan filter, but to remove the filter you must remove the entire front of the case, which is screwed in. The PSU is covered by a shroud to hide some of the cable clutter. There is also a place to mount two 3.5” drives below the PSU shroud. There is a decent amount of room behind the motherboard try for cable routing.
Test System and Build Impressions
The system being put in this case is my test bench setup. It consists of the following parts:
- CPU: AMD Ryzen 7 1700x
- Motherboard: Asus Crosshair VI Hero
- Memory: GSkill Flare X 16gb 3200 mhz
- GPU: Powercolor RX Vega 64
- CPU Cooler: Corsair H100i v2
- Storage: Crucial MX300 525gb m.2 ssd, Corsair Neutron GTX 120 gb ssd, Sandisk Ultra II 240gb ssd
- PSU: Corsair RM 1000x 1000w
The build went together pretty quickly with the vast amount of room, I normally have for a build (I mainly build ITX systems). The instructions are in black and white but are very clear. The 3.5” drives have sleds that you can insert the drive into. There are also enough 8 grommets for you to screw into your ssds to mount that either on the back of the motherboard tray or on top of the PSU shroud. I was easily able to route all my cables with the multiple cable cutouts, rubber grommets and tie-down points at the back of the case. There is plenty of room at the front and top of the case to be able to mount fans and radiators without any interferences.
There is also a decent amount of room beneath the PSU shroud to be able to house unused cables. I would like to see more ssd grommets provided to be able to mount ssds to the motherboard tray and the PSU shroud at the same time. Cable management between the motherboard tray and the side panel would be appreciated for those large 24 pin cables. I used a 1000w PSU with a pretty big 24 pin cable and which it does fit, it took some finessing of the acrylic/aluminium side panel to fit on the case. One great thing about the doors once again is that there are tiny magnets at the top and bottom to be able to assist in keeping the side panels closed.
RAIJINTEK ASTERION PLUS No Power Supply ATX Full Tower (Silver)
View on AmazonOverall, this has been one of my favorite cases to build in. It has ample amount of room for GPUs, storage and it even supports custom watercooling. The aluminum construction not only adds to its great looks, but also makes the case very sturdy without weighing to much. While it could have been a different build experience with tempered glass side panels, I am glad that I received the Asterion Plus with the acrylic windows, and a great handle to assist in opening the side panels. It’s also great to see that there are multiple mounting locations throughout the case for all your SSDs and HDDs.
- Price
- Aluminum/Steel construction
- Watercooling support
- Large side panel with handles
- Included fans
- Lots of cutouts and grommets
- Hinged side panels with magnets

